California
Cronan Ranch Regional Trails Park.
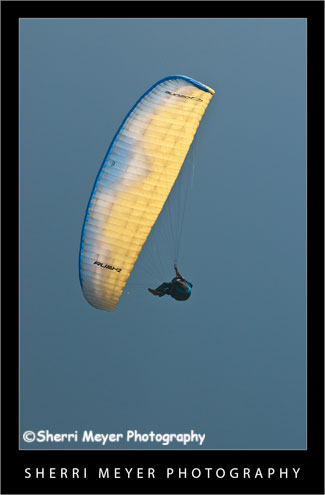
This shot was taken during our most recent hike at the Cronan Ranch. This guy (I think his name was Randy) was having a great flight and he put on a great show for the camera.
As it turns out, the majority of the group (about 8-10) he was flying with that day were "Baby Boomers." That was really cool, because photographing active Baby Boomers is one of my specialties. I stumbled upon a gold mine, when I found these guys! [click to continue…]
If you are looking for a great place to have a paragliding adventure, check out the
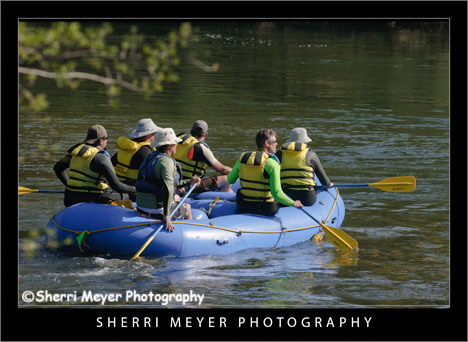
Whitewater rafting on the South Fork of the American River, near Coloma, California.
Thanks to my friend and fellow photographer, Richard Wong, I have done something I thought I'd never do. I jumped on the Twitter bandwagon! For months, I would read his little Twitter message on his Photo Blog and found it quite amusing at times. But, I really didn't understand anything about it. So, what did I do to satisfy my curiosity? I did like millions of other curious folks are doing and I signed up for my "free" Twitter account. Once I signed up, it was easy to read all of his posts and it cleared up things a bit. But, I still didn't really get the hang of it, so I put it on the back burner for a few more months. [click to continue…]
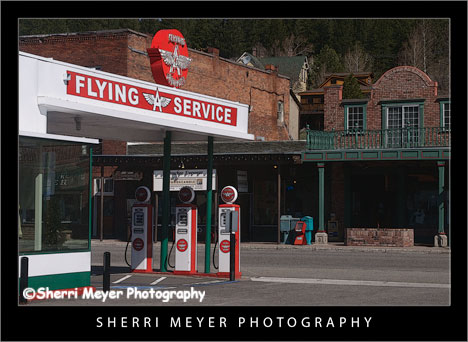
Flying A Service Station, Truckee, California.
Do you remember the Flying A Service Station's? If you do, you are giving your age away.
This is the one subject that stood out from the rest, while visiting Truckee recently. It was really fun to photograph. I took a whole series of photos of it and these were two of my favorites.
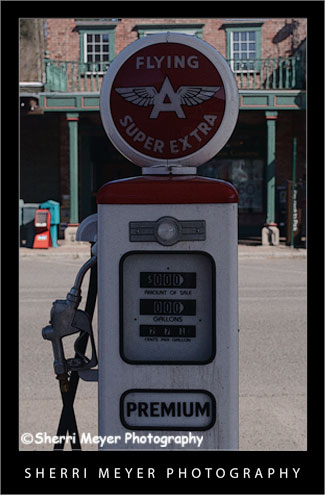
Close up shot of a gasoline pump at the Flying A.
A closer up view of the pump reveals that premium gas was going for 27 cents per gallon. Imagine that!
Thank you for visiting. If you would like to leave a comment, simply click on the "comments" link (add your message in the box) at the bottom of this post.
You can also sign up for a "free" subscription to this Blog. Just look in the upper right hand side of the Blog under "Subscribe to Sherri's Blog." Then, either click on the orange button, or enter your email address and click on "subscribe."
Visit our Stock Photo Website for links to photo galleries.
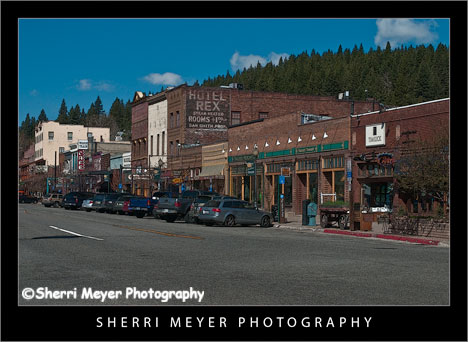
Truckee is perhaps one of the most charming and popular mountain towns in California. It is close to Lake Tahoe and offers year-round recreational opportunities.
We stayed in Truckee at the "dog friendly" Inn at Truckee, during our recent road trip. I highly recommend this place if you are visiting the area with your pooch. It is very reasonable, has a spa and hot tub and even includes continental breakfast. It is also close to Old Town, which is one of the areas I was photographing during our stay in Truckee. Our dog, Cocoa, gives it 3 paws out of 4, based on the rating system in the California Dog Lover's Companion Guide Book.
About the photo:
I used my favorite creative filter in PhotoShop CS3 "Poster Edges" to achieve this look.
Helpful links if you are planning a trip to the Truckee/Lake Tahoe area:
http://www.truckee.com/
http://en.wikipedia.org/wiki/Truckee,_California
http://www.innattruckee.com/home
Thank you for visiting. If you would like to leave a comment, simply click on the "comments" link (add your message in the box) at the bottom of this post.
You can also sign up for a "free" subscription to this Blog. Just look in the upper right hand side of the Blog under "Subscribe to Sherri's Blog." Then, either click on the orange button, or enter your email address and click on "subscribe."
Visit our Stock Photo Website for links to photo galleries.
Lake Tahoe, Nevada Panorama.
Creating a panorama photograph is something I've wanted to try for a long time. I guess I was waiting for the right opportunity to present itself. Well, that moment finally happened, while we were visiting the Lake Tahoe area a few days ago.
Can you figure out what vantage point this was taken from? How many photos do you think were taken and stitched together to create this image? How do you think they were stitched together?
I'd love to hear from you. Please leave your answers in the comments section below. I will explain how this Lake Tahoe Panorama was created later on this month, after I receive a few comments.
Thank you for visiting. If you would like to leave a comment, simply click on the "comments" link (add your message in the box) at the bottom of this post.
You can also sign up for a "free" subscription to this Blog. Just look in the upper right hand side of the Blog under "Subscribe to Sherri's Blog." Then, either click on the orange button, or enter your email address and click on "subscribe."
Visit our Stock Photo Website for links to photo galleries.
Panorama Photo Update:
How this photo was created - To create this panorama, Jeff & I each took a series of 4 images. We made sure to overlap each image about 20% and to keep the horizon in approximately the same position in each photo. We decided that the series that Jeff took was the best of the two.
How this photo was developed - Using Lightroom 2.0, Jeff selected the 4 images in the order they were taken. Then he right clicked and selected export to PhotoShop as a panorama. Then PhotoShop automatically stitched the 4 images together. Then all Jeff had to do was crop off the ragged edges.
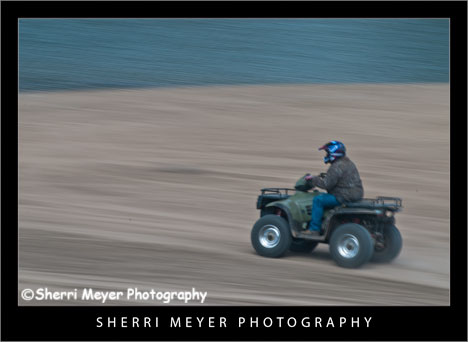
Jeff riding his Quad along the shore of Prosser Reservoir, Truckee, California.
This shot was taken during our recent road trip to the Truckee/Lake Tahoe area to capture travel, adventure and lifestyle photos for our stock files.
The first stop during our road trip was at Prosser Reservoir for a little Quad fun and photos. This photo is one of my favorites from our photo shoot.
Photo Details - In Camera
This pan photo was shot on a Nikon D300 with a Nikon 70-200 zoom lens attached, using the following camera settings: ISO 100, shutter speed 1/10 sec., aperture f 20.
Post processing in Lightroom
I set the Clarity to +100 and the Vibrance to +45.
Thank you for visiting. If you would like to leave a comment, simply click on the "comments" link (add your message in the box) at the bottom of this post.
You can also sign up for a "free" subscription to this Blog. Just look in the upper right hand side of the Blog under "Subscribe to Sherri's Blog." Then, either click on the orange button, or enter your email address and click on "subscribe."
Visit our Stock Photo Website for links to photo galleries.
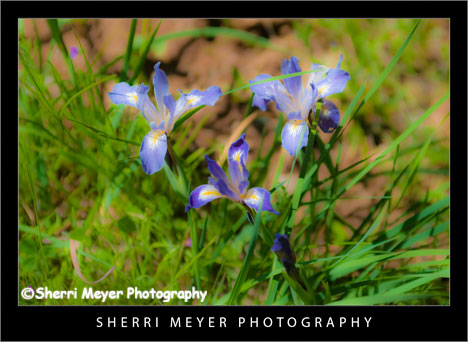
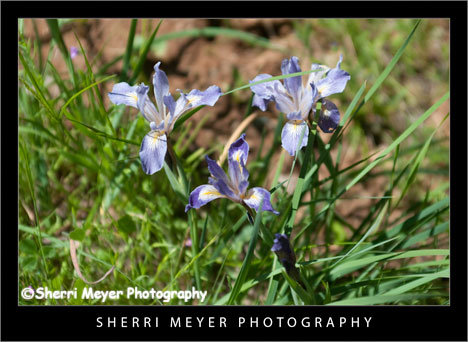
Wild Sierra Iris, Cronan Ranch Regional Trails Park, near Coloma, California.
These beautiful Wild Sierra Iris were growing along the trail at the Cronan Ranch Regional Trails Park, the day of our hike with friends. They are a common wildflower here in the Sierra Foothill's and can be found along many hiking trails. One of the other places I have found them is at Hidden Falls Regional Park in Auburn.
The original image did nothing for me, but I didn't want to dump it. It was taken at 1:00 in the afternoon under harsh lighting. It also lacked vibrance. I decided to work with it a bit in Lightroom 2 and this is what I came up with. I set the Clarity to -100 to give it a softer look and set the Vibrance to +70, which made the colors pop.
This is what this photo looked like straight out of the camera.
I have 2 questions for my viewers.
1. Which one do you like best?
2. Can you identify this species of Wild Iris?
Thank you for visiting. If you would like to leave a comment, simply click on the "comments" link (add your message in the box) at the bottom of this post.
You can also sign up for a "free" subscription to this Blog. Just look in the upper right hand side of the Blog under "Subscribe to Sherri's Blog." Then, either click on the orange button, or enter your email address and click on "subscribe."
Visit our Stock Photo Website for links to photo galleries.
photo of the Narcissus I adjusted the Vibrance to +100.
Add "punch" to your photos using Clarity. Clarity adds midtone contrast to your photos, which makes them appear to have had the midtones sharpened. For this photo of the famous McArthur-Burney Falls in Northeastern California, I set the Clarity to +100.
Give your photos a soft, diffused look using Clarity. To achieve a soft look, try adjusting the Clarity in the negative direction. In my photo of the Mystery Rider, I adjusted the clarity to -100. This also works really well when shooting portraits.
Turn your color photo into an antique looking photo. You can do this easily by using the Antique Grayscale (similar to Sepia) Preset. Check out this photo of the Three Amigos.
There is really no right or wrong. Just experiment and have fun!
Thank you for visiting. If you would like to leave a comment, simply click on the "comments" link (add your message in the box) at the bottom of this post.
You can also sign up for a "free" subscription to this Blog. Just look in the upper right hand side of the Blog under "Subscribe to Sherri's Blog." Then, either click on the orange button, or enter your email address and click on "subscribe."
Visit our Stock Photo Website for links to photo galleries.
For all you Lightroom lovers out there, here are a few simple tips you can try to improve your photos, or to simply give them a new look.
Want to make your photos look like a painting? You can do this by simply adjusting the fill light. For this photo of the movie set, I adjusted the fill to 45.
Make your colors pop. Try using the Vibrance Slider instead of the Saturation Slider. It will brighten up only the areas that need to be brightened up, not everything in the photo. In this
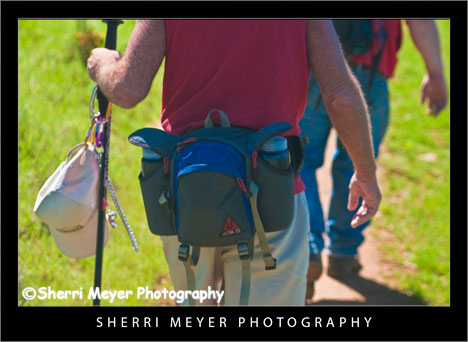
Baby Boomers take a hike at the Cronan Ranch Regional Trails Park, Pilot Hill, California.
Last weekend, Jeff and I rounded up a group of our "Baby Boomer" friends and returned to our new favorite place to hike in the Sierra Foothill's, the Cronan Ranch Regional Trails Park near Coloma. [click to continue…]
photos of McArthur-Burney Falls in my Shasta County category.
Can you figure out what I did to make this photo look like a painting? I will post the answer in a few days. Thank you for your participation!
Thank you for visiting. If you would like to leave a comment, simply click on the "comments" link (add your message in the box) at the bottom of this post.
You can also sign up for a "free" subscription to this Blog. Just look in the upper right hand side of the Blog under "Subscribe to Sherri's Blog." Then, either click on the orange button, or enter your email address and click on "subscribe."
Visit our Stock Photo Website for links to photo galleries.
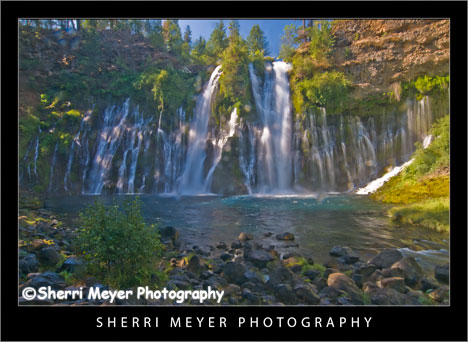
Update: Thank all of you who commented on this photo of McArthur-Burney Falls. I am not going to make you wait any longer to tell you what I did to get it to look like a painting.
First of all, the original photo was way too underexposed. I really didn't think I would be able to do anything with it, but I was wrong! I started experimenting using Lightroom 2.1, until I either got something I liked, or it was going into the trash bin.
Settings I used in Lightroom
Set Blacks to 0
Set Recovery to 100
Set Fill to 80
Set Clarity to +100
Set Vibrance to +55
Are you surprised?
This photo of the famous McArthur-Burney Falls was taken last summer, during our Northeastern California Road Trip.
I didn't really like the way it looked straight out of the camera at all. It was actually one of the photos that almost got dumped during the editing process. Then, the other day, I started experimenting in Adobe PhotoShop Lightroom 2.1 to see what I could come up with.
Now, it is actually one of my favorites from the series of photos I took of the falls. You can see a few more