by Sherri on February 2, 2009
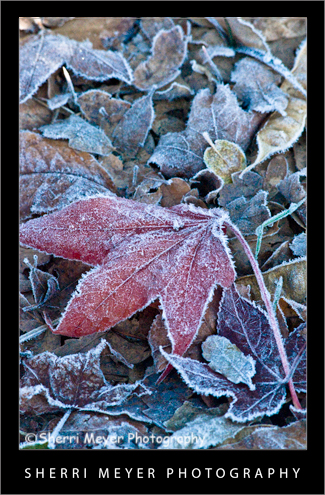
Frozen leaves, Auburn, California.
These leaves were just too pretty to not get noticed. I found them lying in a ditch in my neighborhood, during my early morning walk.
To get this color effect, I used the “Direct Positive” preset in Adobe Lightroom 2.1. I also set the “clarity” to +100 in the development module.
This photo was also shot on my Nikon D300 at ISO 6400. This was a low-light situation and I didn’t have a tripod with me. So, I decided it was another good opportunity to experiment with the higher ISO’s on the Nikon D300.
Thank you for visiting. If you would like to leave a comment, simply click on the “comments” link (add your message in the box) at the bottom of this post.
You can also sign up for a “free” subscription to this Blog. Just look in the upper right hand side of the Blog under “Subscribe to Sherri’s Blog.” Then, either click on the link and choose your reader, or type in your email address.
Visit our Website for links to photo galleries.
by Sherri on January 30, 2009
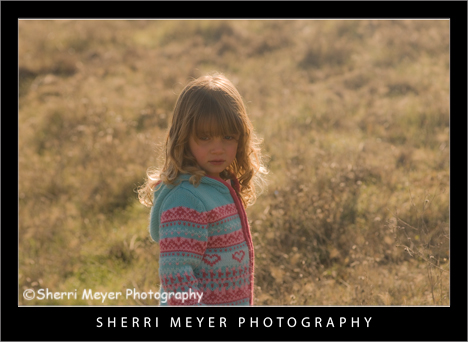
Portrait of Maya Bussinger #3, Cronan Ranch Regional Trails Park, Pilot Hill, California.
In my previous post, I had two examples of experimenting with “clarity” in the develop module of Adobe Lightroom 2.1. When working with clarity, you can choose to increase or decrease the amount of clarity in the original photo.
In one of the photos in my previous post, I left the clarity set at normal. For the other one, I decreased the clarity to -100. You can also increase it the same way, or as in both cases, you can find a balance.
Thanks to Gary Crabbe of Enlightened Images for suggesting that I play around with it a little more. For the photo above, I set the clarity at -50, which was right in the middle of my previous two examples.
One of the really neat things about photography is that most of the time, there is no right or wrong. The final decision is a matter of personal choice. I’d love to hear what your personal choice is. Which of the 3 photos do you like best?
Thank you for visiting. If you would like to leave a comment, simply click on the “comments” link (add your message in the box) at the bottom of this post.
You can also sign up for a “free” subscription to this Blog. Just look in the upper right hand side of the Blog under “Subscribe to Sherri’s Blog.” Then, either click on the link and choose your reader, or type in your email address.
Visit our Website for links to photo galleries.
by Sherri on January 28, 2009
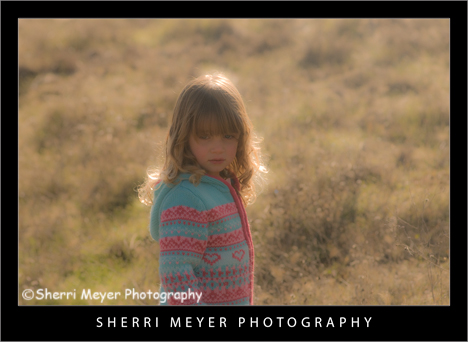
Portrait of Maya Bussinger #1, Cronan Ranch Regional Trails Park, Pilot Hill, California.
You can probably tell by now that I love Adobe Lightroom 2.1. I’ve been doing a lot of experimenting with it lately and here is something else I learned that might be of interest to you.
The photo above was created from the original photo (photo #2), by simply adjusting the “clarity” in the development module of Lightroom 2.1. The original photo was a little bit harsh. By adjusting the “clarity” to -100, I gave this portrait of Maya a much softer look.
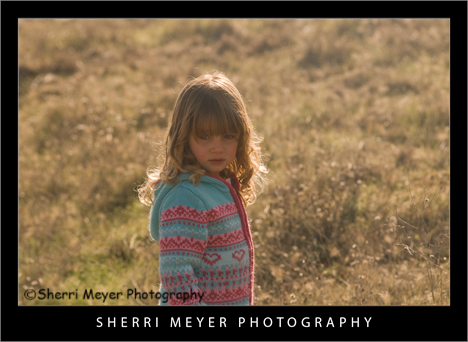
Portrait of Maya Bussinger #2, Cronan Ranch Regional Trails Park, Pilot Hill, California.
This is the original photo. Which one do you like best?
Thank you for visiting. If you would like to leave a comment, simply click on the “comments” link (add your message in the box) at the bottom of this post.
You can also sign up for a “free” subscription to this Blog. Just look in the upper right hand side of the Blog under “Subscribe to Sherri’s Blog.” Then, either click on the link and choose your reader, or type in your email address.
Visit our Website for links to photo galleries.
by Sherri on January 27, 2009
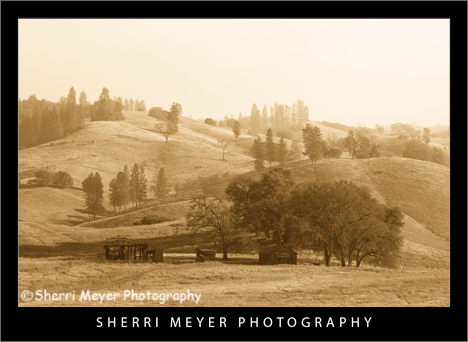
Love Comes Softly movie set at the Cronan Ranch Regional Trails Park, Pilot Hill, California.
To get this look, I used the Antique Grayscale preset in Lightroom 2.1. Although I liked the scene in color, I wanted to see what it would look like using this amazing preset. This is the same preset I used on this photo of the “Three Amigos.”
Thank you for visiting. If you would like to leave a comment, simply click on the “comments” link (add your message in the box) at the bottom of this post.
You can also sign up for a “free” subscription to this Blog. Just look in the upper right hand side of the Blog under “Subscribe to Sherri’s Blog.” Then, either click on the link and choose your reader, or type in your email address.
Visit our Website for links to photo galleries.
by Sherri on January 23, 2009
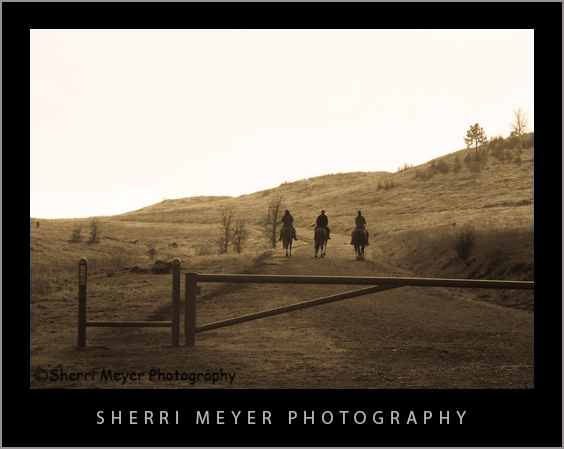
Three Amigos horseback riding at the Cronan Ranch Regional Trails Park, Pilot Hill, California.
This photo needed a lot of help, before I could put it on the Blog. First of all, it was taken at the worst possible time of day; just a little past noon at the beginning of our hike.
I went ahead and took this photo anyway, because I really liked the composition and the story telling image that it is. It tells a story of three amigos heading out for a trail ride at the Cronan Ranch. [click to continue…]
by Sherri on October 6, 2008
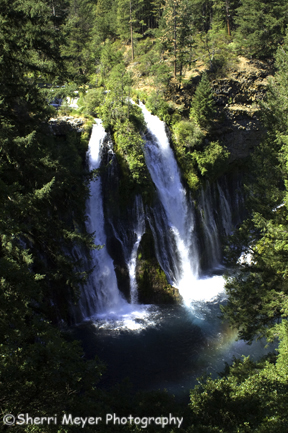
McArthur-Burney Falls taken from the observation deck at the top.
This is the view you get when you don’t take the hike down to the base of the falls. In some ways, I think this view is more impressive. You get to see the falls in their entirety. That said, I also highly recommend taking the hike, so you can see it from many different perspectives. This is especially important if you are a photographer. [click to continue…]
by Sherri on October 1, 2008
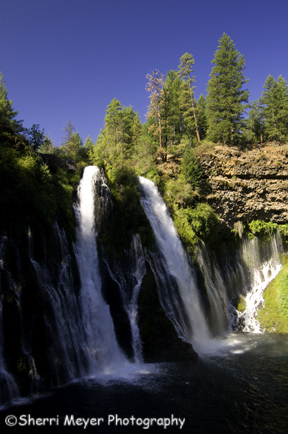
McArthur-Burney Falls, Shasta County, California
This shot of McArthur-Burney Falls (also known as Burney Falls to many) I took because I thought it would make a great cover shot. There is plenty of empty space at both the top and the bottom of the photograph for text.
Today, I was originally going to post a close up shot of the falls taken down at the bottom of the trail. But, I decided it needed some work before posting.
I’m going to do a little experimenting with Lightroom 2, our new Photo Management Software to see what I can do to improve it.
Stay tuned. I will be posting a couple more shots of this natural wonder, before moving on to the next place we visited during our road trip.
by Sherri on September 23, 2008
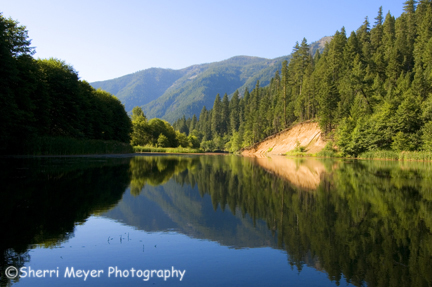
Photo #1- Indian Creek in Taylorsville, CA (Plumas County) shot in the morning.
Getting back to our recent road trip photo essay…
One of the great things about staying in one place for awhile is that you have more than one opportunity to photograph a subject. While we were camping along Indian Creek, I had just that kind of opportunity. [click to continue…]
by Sherri on August 27, 2008
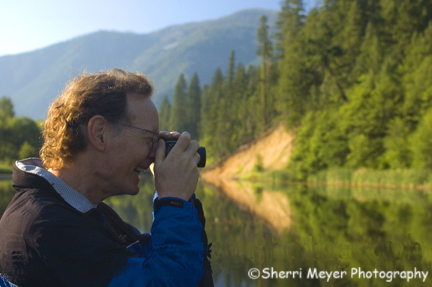
Steve Hadley photographing Indian Creek, Taylorsville, California
While I was down capturing a few early morning shots of Indian Creek, our friend Steve decided to join me. That was perfect timing, because all the photos I had taken up until then had been void of people, which is really unusual for me. More importantly, he is a “Baby Boomer!” Photographing “Baby Boomers” is one of my top priorities when shooting for stock.
Here is another tip I will throw out there to the universe. When photographing a landscape, try shooting the scene both with and without people. I generally shoot with the people in the scene first, because those shots are most important to me. But, if your speciality happens to be landscapes, you would most likely do it in reverse. This is most important if you are a Stock Photographer shooting for publication.
I will be including more photo tips in future posts from our recent Northeastern California Road Trip, so stay tuned to www.sherrimeyer.com/Blog.
by Sherri on August 26, 2008
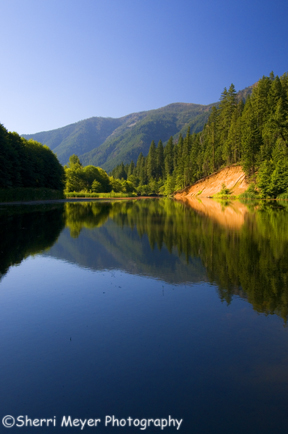
Indian Creek, Taylorsville, California shot on Nikon D-300 with Tokina 12-24mm lens.
It’s a lot easier to Blog about our Northeastern California Road Trip, now that we are home and with power. [click to continue…]


