Adobe Photoshop CS3
Fall has arrived. That said, I will be wrapping up my summer series on Utica Reservoir soon. Then, my focus will be on Fall images.
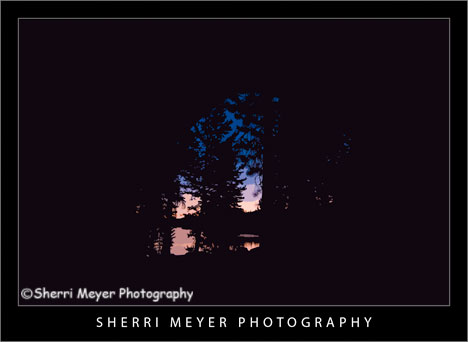
This photo was shot from inside our tent at 5:30 in the morning. I didn't feel like messing with the tripod, so I shot this at ISO 3200. My camera (Nikon D300) does very well at the higher ISO's. I can also reduce the digital noise using Adobe Photoshop Lightroom. Even so, I couldn't reduce the noise enough for my liking.
So, what did I do?
I took this image into Photoshop CS3 and applied "Cutout," one of my favorite artistic filters. It did exactly what I hoped it would. It covered up all the noise and rendered an image that was pleasing to the eye.
I hope you like it!
Thank you for visiting. If you would like to leave a comment, simply click on the "comments" link (add your message in the box) at the bottom of this post.
Visit our Stock Photo Website for links to photo galleries.

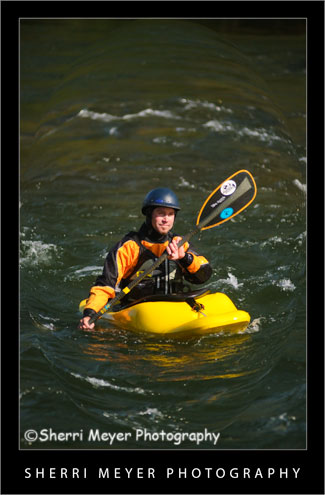
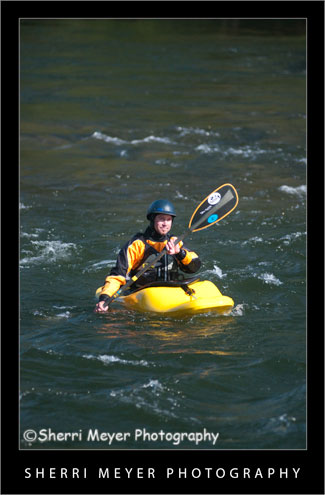
Photo #1 - Kayaking on the South Fork of the American River, near Coloma, California.

Photo #2 - This is what the photo looked like straight out of the camera.
- Created a Virtual Copy.
- Set White Balance to daylight.
- Used the Nikon D300 preset.
- Increased the Highlight Recovery to tone down the hot spots.
- Increased the Luminance Smoothing to reduce the unwanted noise.
Sometimes I have a hard time tossing out a photo just because it's out of focus. This photo is one of those photos. What I like to do when this happens is to apply my favorite artistic filter in PhotoShop CS3 "Poster Edges."
Photo # 1 - In Lightroom 2, I set the White Balance to daylight and applied the Nikon D300 preset. Then, in PhotoShop CS3, I turned this out of focus photo into a digital art photo, by applying the "Poster Edges" filter.
Photo #2 - This is the way the NEF looked straight out of the camera.
Does this work for you? I'd love to hear your comments.
Thank you for visiting. If you would like to leave a comment, simply click on the "comments" link (add your message in the box) at the bottom of this post.
You can also sign up for a "free" subscription to this Blog. Just look in the upper right hand side of the Blog under "Subscribe to Sherri's Blog." Then, either click on the orange button, or enter your email address and click on "subscribe."
Visit our Stock Photo Website for links to photo galleries.


